
The Ultimate DIY Guide, how to Make a Non-Permanent Tattoo
My First (Temporary) Tattoo Adventure
I’ll never forget the summer I decided to test out a tattoo design—without the lifelong commitment.
I wanted something bold, something me, but the idea of permanent ink terrified me.
That’s when I discovered the world of non-permanent tattoos, and let me tell you, it was a game-changer.
If you’re curious about how to create your own temporary body art—whether for a festival, a personal trial, or just for fun—this guide will walk you through every step, from DIY methods to professional options.
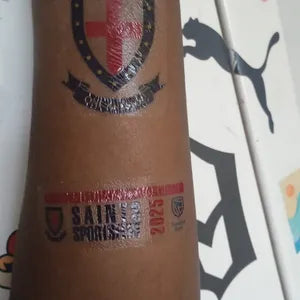
Method 1: The Classic Stick-On Temporary Tattoo
What You’ll Need:
✔ Temporary tattoo paper (inkjet or laser) ✔ Printer
✔ Scissors
✔ Water & a cloth
Step-by-Step:
1. Choose Your Design – Find or create an image (black-and-white works best).
2. Print It – Use temporary tattoo paper (TeMaRo sells affordable tattoo paper).
3. Cut Out the Design – Trim excess paper.
4. Apply to Skin – Press the design face-down on clean, dry skin.
5. Wet & Hold – Dab with a wet cloth for 30 seconds, then peel off the backing.
6. Let Dry – Voilà! Your tattoo lasts 3–7 days.
💡 Pro Tip: Avoid oily skin areas—they make the tattoo fade faster!
Method 2: DIY Henna (The Natural Route)
What You’ll Need:
✔ Henna powder (pure, no chemicals!)
✔ Lemon juice & sugar (for paste consistency)
✔ Plastic cone or applicator bottle
Step-by-Step:
✅ Mix the Paste – Combine henna powder, lemon juice, and a pinch of sugar. ✅ Let It Rest – Allow the dye to release for 6–12 hours.
✅ Apply the Design – Use a cone or fine-tip bottle to draw.
✅ Wait & Scrape – Let dry for 4–6 hours, then scrape off the paste.
✅ Reveal the Stain – The orange stain darkens to reddish-brown in 24–48 hours.
⏳ Lasts: 1–3 weeks, depending on skin type.
⚠ Warning: Avoid "black henna"—it contains PPD, which can cause burns!
Method 3: Jagua Ink (For a Darker, Semi-Permanent Look)
What You’ll Need:
✔ Jagua gel (derived from Genipa Americana fruit)
✔ Stencil or freehand tools
Step-by-Step:
1. Prep Skin – Clean and exfoliate.
2. Apply the Gel – Use a brush or stencil.
3. Let It Dry – Keep on for 4–6 hours.
4. Wash Off – The stain develops over 24–48 hours.
🎨 Result: A blue-black tattoo that mimics real ink!
⏳ Lasts: 1–2 weeks
Method 4: Alcohol-Activated Makeup (For Ultra-Realistic Temp Tattoos)
What You’ll Need:
✔ Alcohol-activated makeup (like Kryolan or Skin Illustrator)
✔ Stencil (optional)
✔ Setting spray
Step-by-Step:
1. Prep Skin – Clean and dry.
2. Apply the Makeup – Use a brush for precision.
3. Set It – Spray with a makeup fixer.
🔥 Looks So Real, even tattoo artists do double-takes!
⏳ Lasts: 1–3 days (great for photoshoots).
Method 5: The Easiest Option—TeMaRo Temporary Tattoos
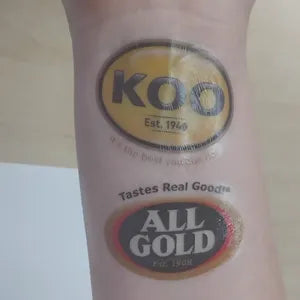
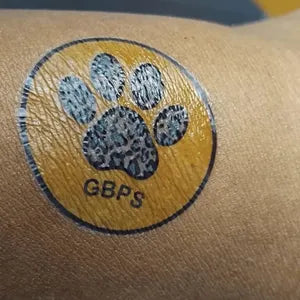
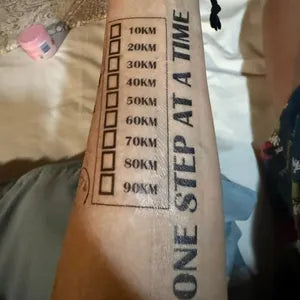
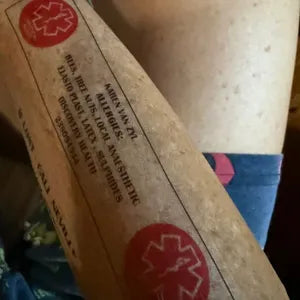
If DIY sounds messy, TeMaRo.co.za offers professional-grade temporary tattoos that:
✅ Last 3–7 days
✅ Look hyper-realistic
✅ Come in 100+ designs (or upload your own!)
How to Apply:
1. Peel off the protective film.
2. Press onto clean skin.
3. Wet & Hold for 30 seconds.
4. Reveal your masterpiece!
💡 Perfect For:
- Testing a tattoo before going permanent
- Festivals, weddings, or just for fun
How to Make Your Temporary Tattoo Last Longer
Want to extend its life? Try these tricks:
✔ Avoid water for the first 24 hours
✔ Apply petroleum jelly to seal the design ✔ Skip the pool & heavy sweating
Final Thoughts: Why Temporary Tattoos Are Genius
I ended up loving my trial tattoo so much that I eventually got it inked—permanently.
But without testing it first, I might have regretted it.
Whether you choose DIY henna, jagua, or TeMaRo’s easy temp tattoos, the key is to experiment fearlessly before committing.
🔹 Ready to try?
- DIYers: Grab henna or jagua gel online.
- For hassle-free temp tattoos: Check out TeMaRo.co.za.
Your skin, your art—no regrets! 🎨✨


0 comments